Flattering portraits rarely happen as a default. Some people are photogenic, yes, and look good at every angle. But often, we work hard to get flattering photos that the sitter loves. There is no one-trick as every person’s face, form, and shape are different. We have to tailor our angles to each portrait sitter. However, there are basic fundamental tools we can use that help us achieve flattering portraits.
1. Use the right lens
Having photographed people for a decade now, I have learned that there is no great all-around lens that can do the best job for everything. Sure there are good lenses that achieve good results, but I’d favor specialist lenses for specific purposes.
Let’s take portraits, for example. A basic kit lens that comes with a camera purchase is usually an 18mm – 55mm zoom. It is expected to be good for wide angles and normal-range views. Yes, it’s good for day-to-day standard snaps. But for portraits? A longer zoom, such as the 85mm, 105mm, and 200mm, are a much better choice for stunning portraits. These give a shallow depth of field, great compression to the background and produce flattering portraits. There is no distortion similar to what you would get when using wider lenses for portraits.
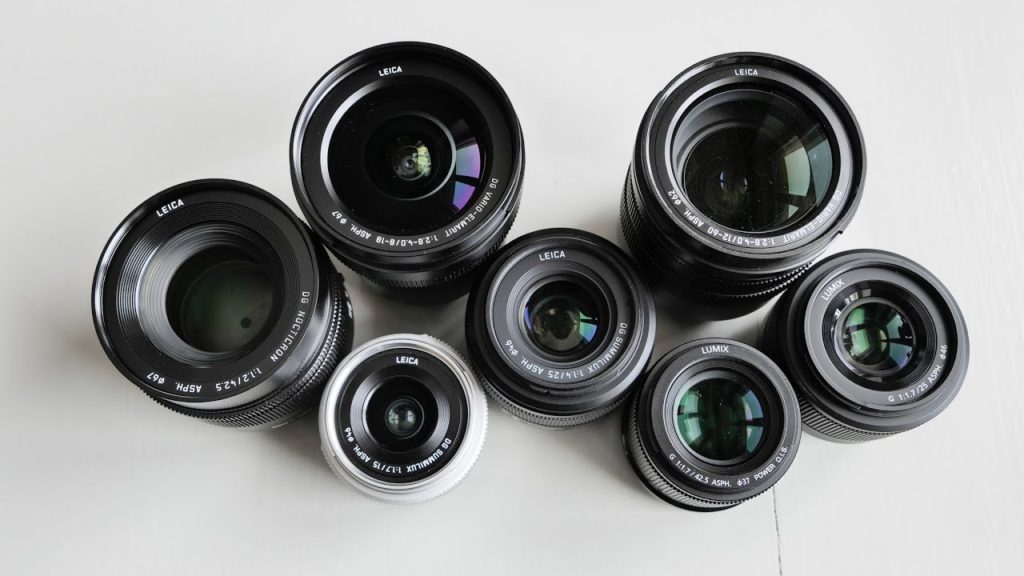
You can read more about choosing the best portrait lens on here.
2. Use the right angle for the person
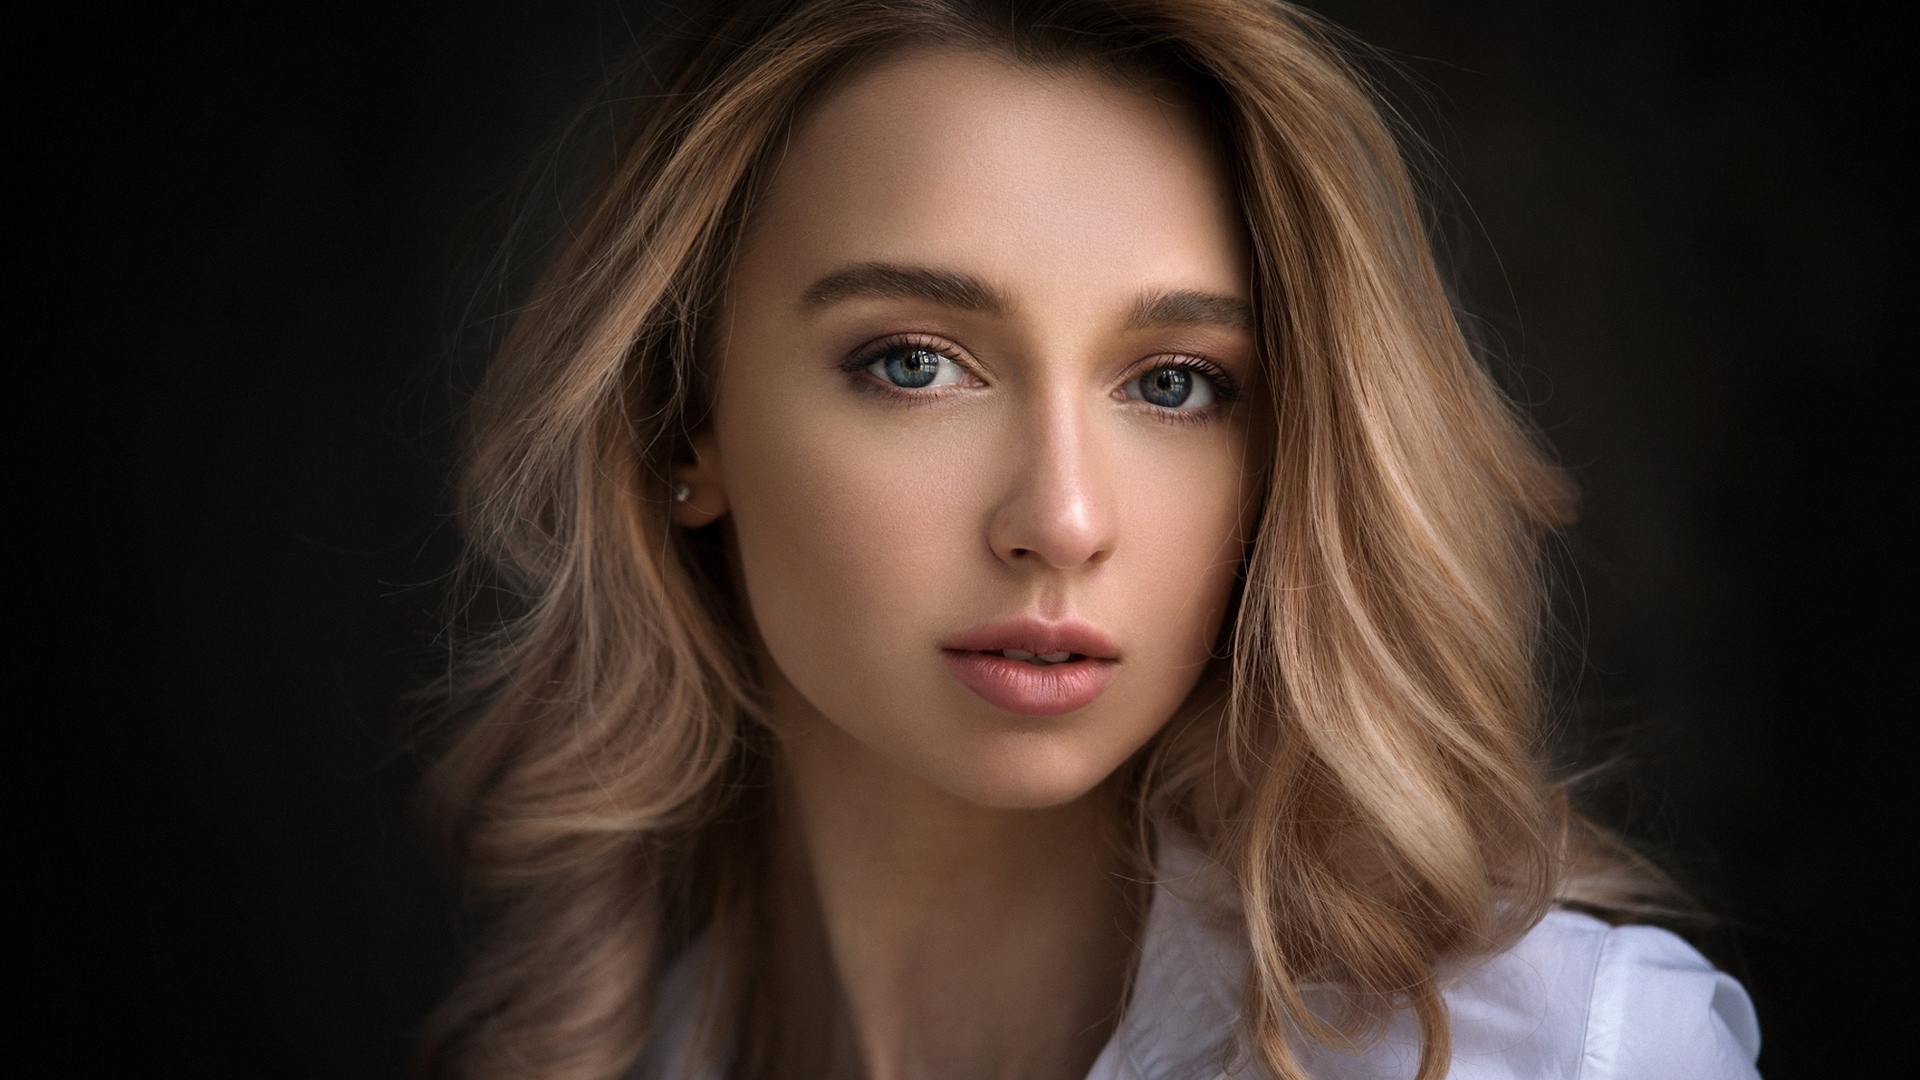
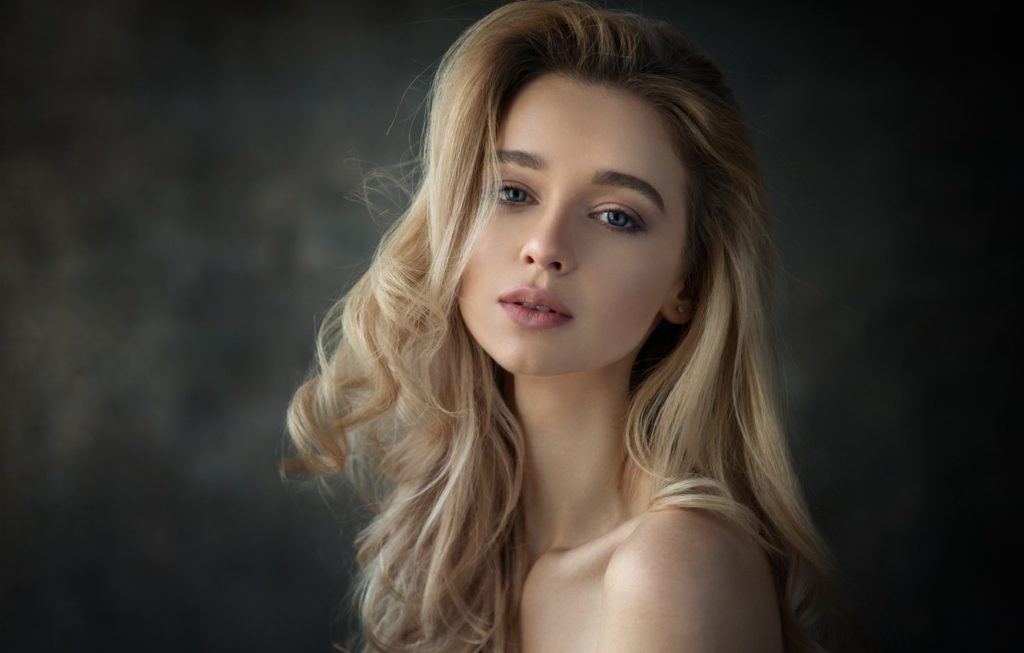
Many women I have photographed do not like having their portrait taken. They are aware of various imperfections on their faces, angles they do not like, and features they are self-conscious about. This is normal and certainly rings true for me. I’m the worst portrait sitter.
In order to achieve portraits that women like, I usually shoot both sides and show them the first few photos I take on the LCD screen of the camera. They choose a preferred side, and we take a few more from that angle. The worst thoughts are usually just in their minds. When they see their photos, even on the back of the camera, they realize it’s not as bad as they thought and there is a better side. They usually relax more from then on.
Generally, I photograph at slightly higher than eye level for most women. This angle hides any unwanted necklines, slims down cheeks and tapers the face down a little for a more flattering portrait.
If I’m photographing from an even higher level than usual, I ask them to look up at me just ever so slightly, and that gives me a confident posture and stance too.

With men, it is usually quite the opposite. Most male portraits get taken within seconds. I find them less self-conscious with a “let’s get on with it, over and done with attitude” in a nice way. I ask them to stand as they usually do. If they slouch, I ask them to straighten their spines a bit, square their shoulders and look straight into the camera. Sometimes I get them to lean slightly against a wall. I generally photograph men at eye-level.
3. Use the right type of lighting
Simply put, short lighting is when the shadowed side of the face is closer to the camera. Being in the shadow, this side of the face is darker and therefore usually ‘shorter’ in terms of the span of the light hitting this side of the face. Broad lighting is the opposite when lit and the brighter side of the face is closer to the camera. Because it’s brighter, it appears much broader with more light reaching much of the area of the face.
hort lighting makes the face appear slimmer due to the shadows created on the face. This can also produce strong contrasts although you can soften the dark areas by using a reflector.
Broad lighting helps in making the face appear wider. Because this area is usually brightly lit compared to other areas, stronger contrast between dark and light is usually created.